es
es fr
fr de
de nl
nl en
en it
it pt
pt ro
ro sv
sv ru
ru hr
hr da
da si
si pl
pl no
no cs
cs fi
fi el
el sr
srHow to install a Cold Plunge in an indoor room?
More and more people want to enjoy an ice bath at home to accelerate muscle recovery, improve well-being, and transform a room into a true wellness space. However, installing a Cold Plunge indoors requires proper planning to ensure safety, prevent humidity problems, and guarantee the equipment's correct operation.
Step 1. Choose the ideal location
Choosing the right location is the first step towards a safe and long-lasting installation.
Which rooms are the most recommended?
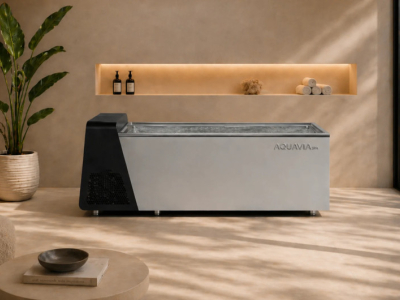
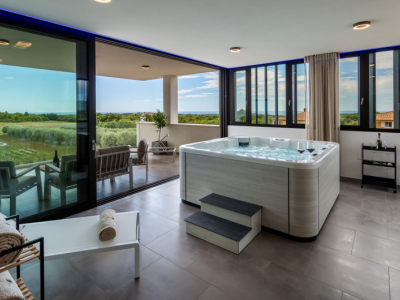
A wellness room, a home gym, a converted basement, or a well-ventilated room are the best places to install an indoor Cold Plunge. It can also be placed next to a sauna to create a thermal contrast circuit.
The most important thing is that the space allows humidity control and has the necessary electrical connections.
.webp)
Check the available space
Before purchasing a Cold Plunge for home use, ensure you have sufficient space around it to allow for ventilation and maintenance. As a general recommendation, maintain adequate clearance between the unit and the walls to promote air circulation and allow for technical access.
Step 2. Verify that the floor can support the weight
One aspect that is frequently forgotten when installing an ice bath at home is the weight that the equipment reaches when it is completely full.
Calculate the weight of the Cold Plunge filled with water
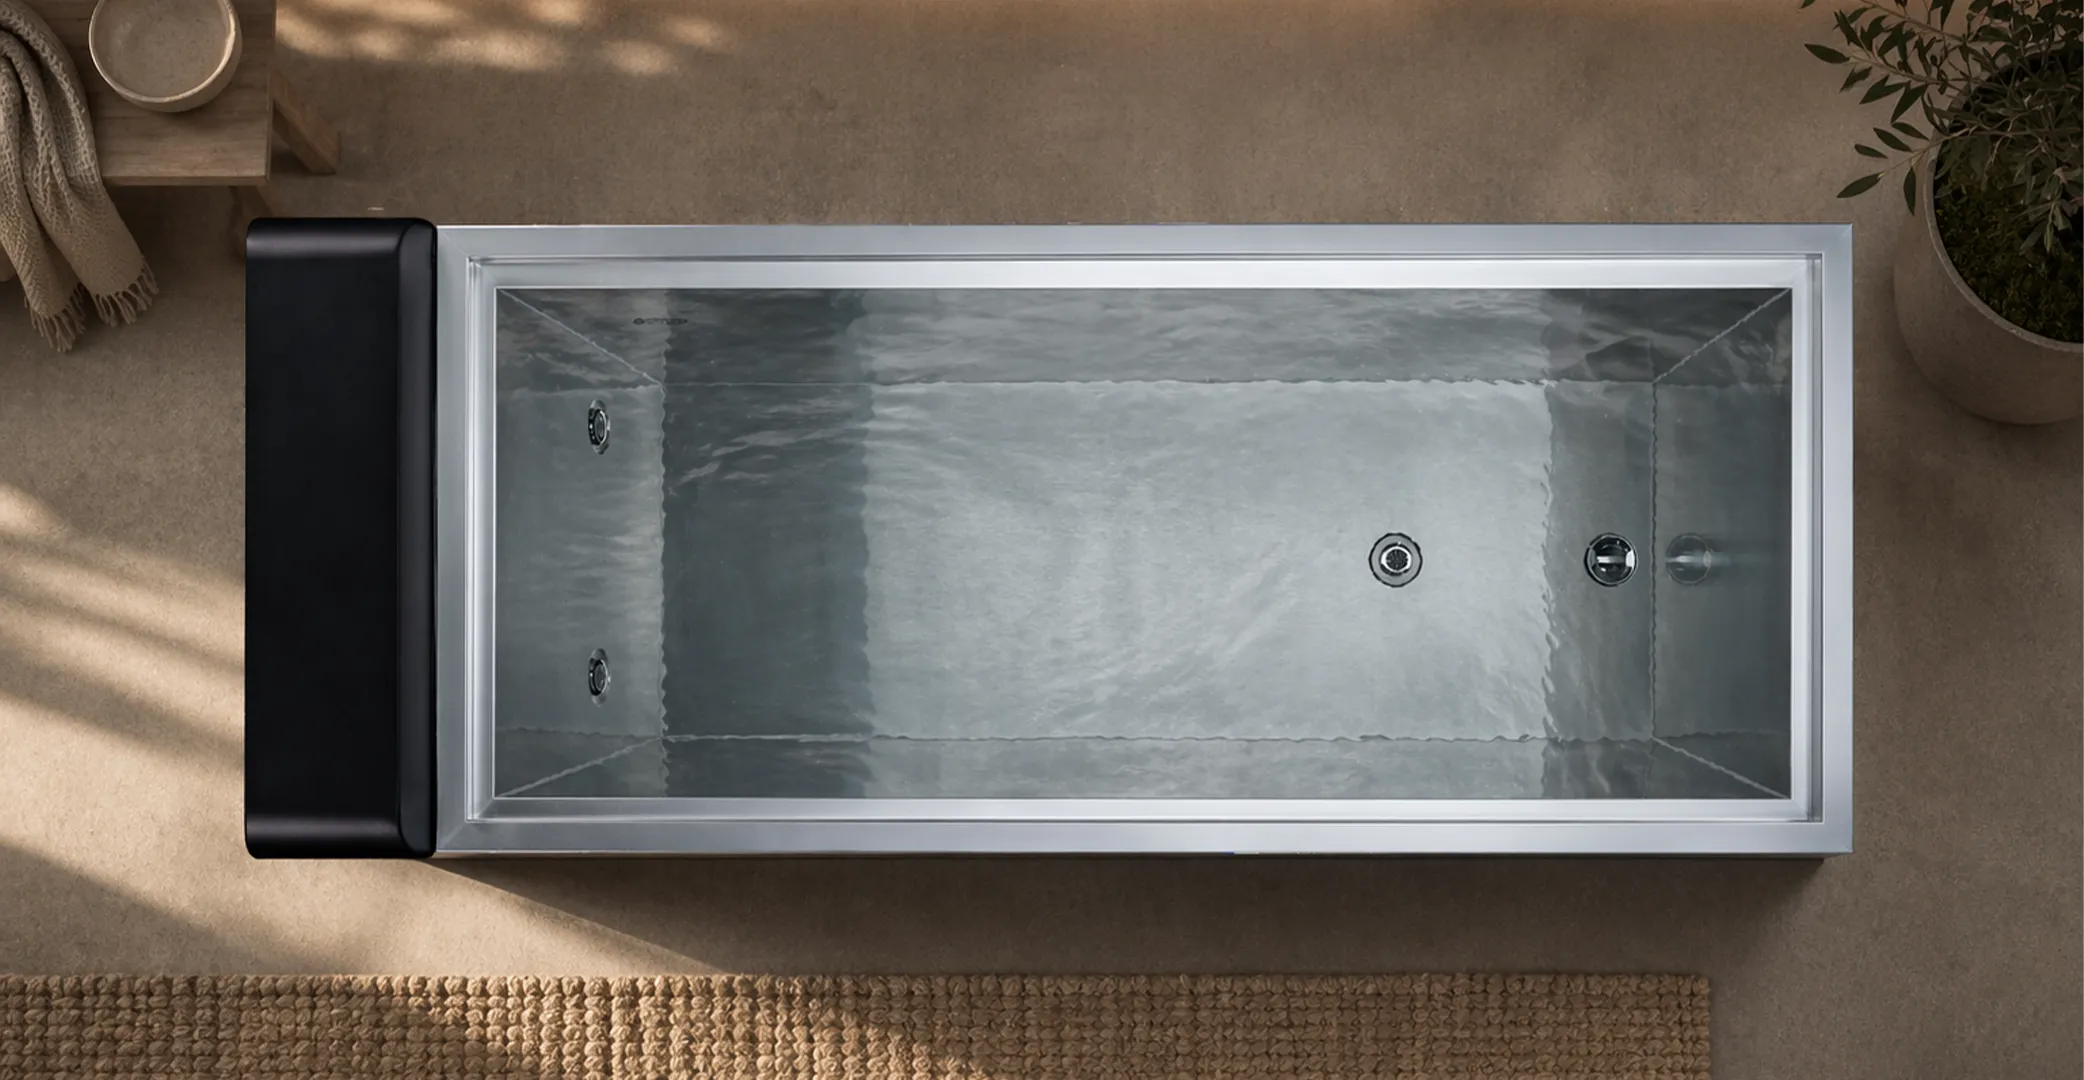
The Aquavia Spa Cold Plunge model weighs approximately 132 kg empty and reaches a weight of 402 kg when filled with water. The user's weight during use must also be added to this figure.
The user manual states that a qualified installer must perform the check before installing the equipment. Additionally, the floor must be flat, stable, and structurally sound.
It is also important to properly waterproof the surrounding area, prevent water from accumulating under the equipment, and have an effective drainage system. The manual warns that water accumulation at the base can increase the risk of electric shock.
Step 3. Prepare the necessary connections
Every cold bath installation needs to have a minimum set of services.
Power supply : It is recommended that the Cold Plunge electrical connection be carried out by a qualified electrician.
Water inlet: Although filling can be done using a hose, having a nearby water outlet simplifies regular maintenance.
Drainage system : The drain for the Cold Plunge is one of the most important elements of the installation. Having a nearby drainage point facilitates water removal for cleaning and maintenance.
Step 4. Ensure proper ventilation
Ventilation is one of the most important aspects when installing the equipment indoors. Proper air exchange allows for the removal of excess humidity generated by the temperature difference between the cold water and the ambient air, significantly reducing the risk of condensation, odors, mold, and material deterioration.
Why is it important to control humidity?
When the water temperature is consistently between 8 and 10 °C, condensation can occur when the humid air in the room comes into contact with cooler surfaces. If the relative humidity continuously exceeds 70%, the risk of condensation on windows, walls, and other elements of the room increases.
It is recommended to maintain the relative humidity of the air between 40% and 60% to ensure optimal comfort and preservation conditions of the installation.
Ensure adequate ventilation
The room must have a sufficient ventilation system to ensure continuous air renewal, either through:
- Natural ventilation , through windows or ventilation grilles.
- Mechanical or forced ventilation, using extractors, ventilation systems or air recovery.
In most domestic installations, adequate ventilation is sufficient to control ambient humidity and prevent condensation problems.
Maintain a suitable room temperature
To minimize condensation, it is recommended to maintain a stable ambient temperature between 18 and 22 °C when the water temperature is around 8-10 °C. It is also advisable to always use the insulating cover when the unit is not in operation, as this significantly reduces evaporation, condensation, and energy consumption.
Step 5. Install the Cold Plunge
Once the space is prepared, you can begin the installation.
Proper equipment placement: Place the equipment completely level on a firm, stable surface. Keep ventilation openings clear and allow sufficient access to the front panel for future maintenance.
Fill the water tank : Fill the tank with clean water (270L) to at least the level indicated inside. Do not add water hotter than 40°C or insert ice cubes or objects that could clog the pipes. Do not operate the unit without water, as damage resulting from dry running is not covered by the warranty.
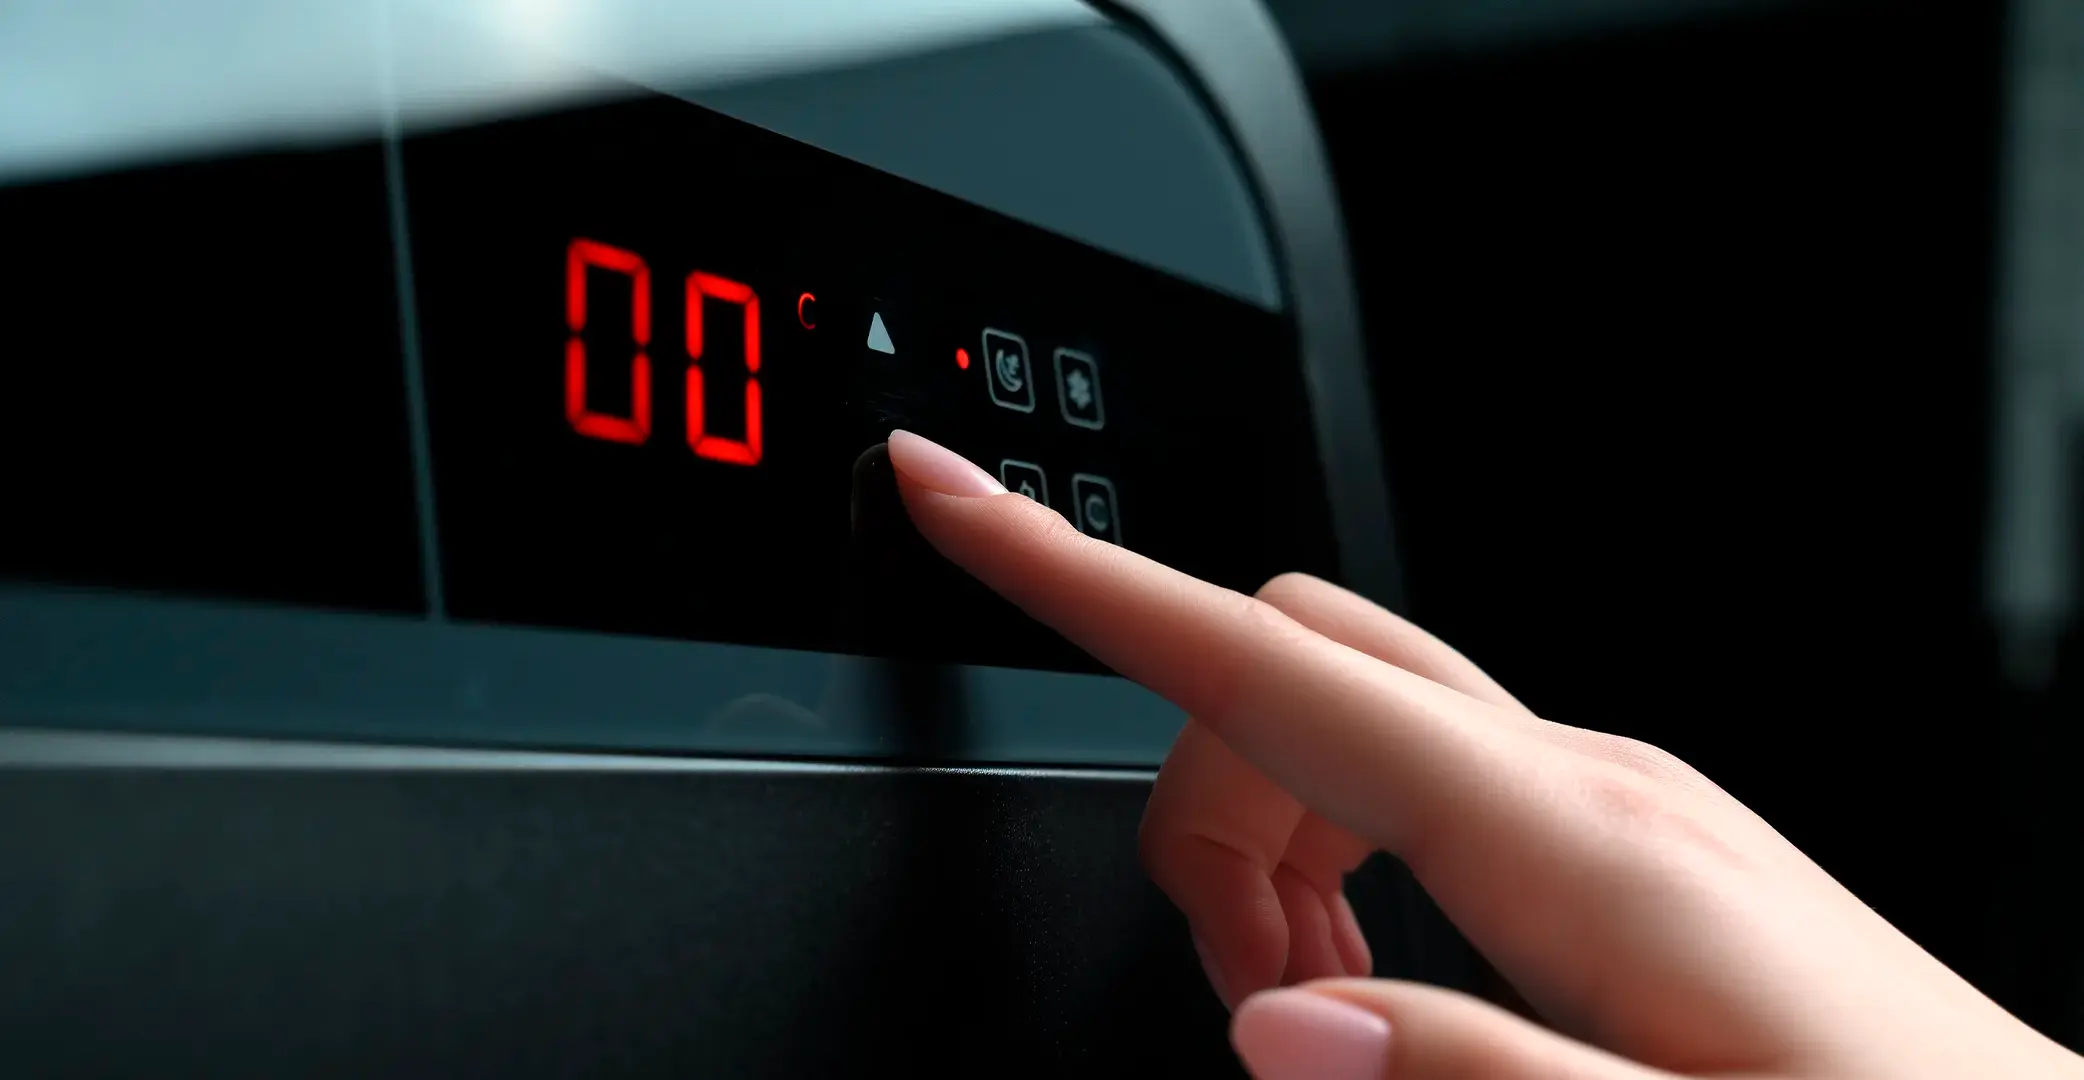
Start the system: Connect the equipment and activate cooling mode.
Adjusting the water temperature: The temperature can be regulated between 0 and 15 °C. When not in use, place the insulating cover to maintain the temperature and reduce energy consumption.
Step 6. Perform initial checks
Before the first bath, it is advisable to check the general functioning.
Check the connections: Verify that there are no water leaks or faulty electrical connections.
Check the operation of the filtration system: Confirm that the water circulates correctly and that the system reaches the programmed temperature stably.
Precautions: Shower before using the equipment to reduce water contamination. Also, check the interior walls of the tank and enter and exit carefully to avoid slipping or scraping.
Step 7. Perform periodic maintenance
Proper Cold Plunge maintenance extends the life of the equipment and ensures a safe user experience.
- Clean the filter weekly: Check the filter periodically and clean or replace it when it becomes dirty or contains debris. Before handling it, turn off and completely unplug the Cold Plunge.
- Control water quality: Regularly check the water condition; we recommend that the pH of the water be between 7.2-7.6 for disinfection with liquid ozone to be effective.
- Check the equipment components: Monitor the circulation system, cooling system, connections, and control panel. If you notice any leaks, unusual noises, or error codes, contact your distributor or technical service.
- Preparing the unit for periods of inactivity: If the unit will remain unused for an extended period, disconnect all power sources, open the drain valve, and completely empty the water. Then, remove the filter cartridge and store it in a dry place. Also, remove any remaining water from the interior and close the top cover to protect the unit.
Enjoy a wellness space designed to last
A correct Cold Plunge indoor installation allows you to enjoy a safe, efficient and comfortable experience for years.
If you are looking for top-quality equipment, Aquavia Spa offers a wide network of distributors , technical support , availability of spare parts and specialized after-sales service .
Discover Aquavia Spa 's wellness solutions and request personalized advice to find the equipment that best suits your residential project.